I've had so many requests for the pattern for the pink knitted purse I made, I decided to post the instructions here. The yarn I used for the pink purse was from a cone of silk blend fingering weight machine knitting yarn. Since it was treated for use on a machine, it was stiffer and made a purse with "body." I am sure most kinds of yarn would work fine.
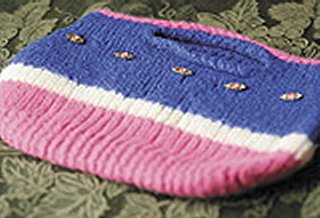
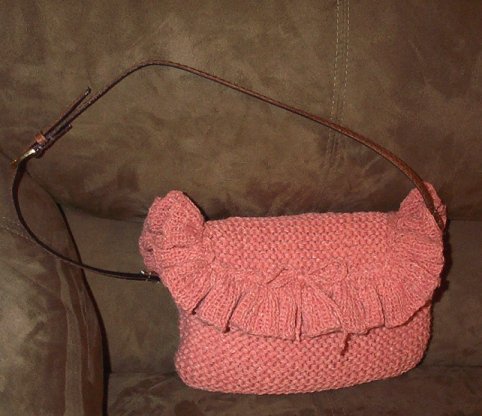
Pink Ruffled Purse PatternThe pattern is very easy. With bulky yarn (or two strands of worsted weight held together, or three strands of fingering weight held together--which is the best option), and size 8 needles, cast on 36 stitches. Knit in garter stitch (knit every row), until purse measures 12 inches from CO edge. Bind off 4 stitches at the beginning of the next two rows. Knit in garter stitch for approximately 4 more inches. Bind off all stitches. Your purse should look like this:

If you are going to line your purse, now is the time to cut out your lining fabric. Lay your purse over the desired fabric and cut around the outside, giving an extra 1/2 inch or so seam allowance to your lining on all sides. Cut out lining. Sew the lining the same way you do the purse.
Fold the purse so that the bottom edge is even with the row where you cast of 4 sts on each side. Weave the side seams. I tucked a little extra fabric in at the bottom "corners," to make it more rounded.
Time to make the ruffle. Using fingering weight yarn and size 4 or 5 24-inch long circular needles, Cast On 116 sts.
Row 1: Knit
Row 2: *K1, yarn over. Repeat from * to end. (230 sts)
Row 3: Purl
Row 4: K1, *Increase one by knitting into the front and back of the stitch. Repeat from * to end. (459 sts)
Row 5: *K1, P1 (or K2, P2). Repeat from * to end.
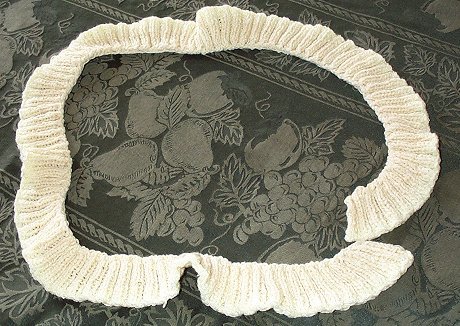
Continue to work in ribbing stitch until the ruffle measures 2 inches wide. Bind off all sitches in pattern. The ruffle should look something like this:

Thread a tapestry needle with one strand of fingering weight yarn and thread it through the holes made by the yarn overs. Gather to fit around the flap of the purse. Sew the ruffle on top of the purse flap, overlapping the back a little to your taste.
With a crochet hook, make a chain, using fingering weight yarn. Tie into a bow and attach to the middle of the front flap.
Turn under 1/2 inch on top and flap edges of lining. Insert lining into purse, wrong sides together and blind stitch edges to purse.
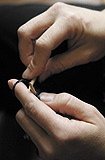
The handle I used is an unused skinny belt from a thrift store. I cut it to size, leaving the buckle as part of the handle, so that it is adjustable. Stuff the purse with some plastic bags to find out where to attach the handles to get the best balance. I used D-rings to attach it to the purse as shown here:

And you're done! Enjoy your lovely little purse. Make one for a friend.

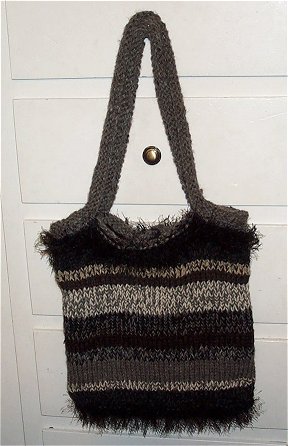
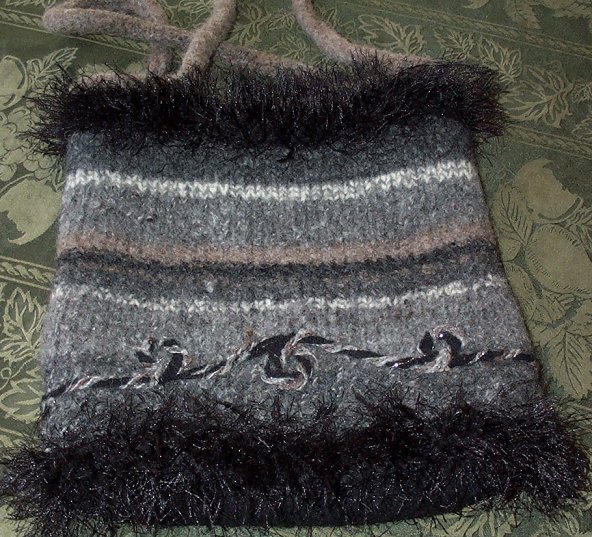
I decided to needle felt some trim to my gray bag. It is my first attempt at needle felting. I really like the way it turned out, and it was SO easy!